AddThisAds
 AddThisAds is the easiest and fastest way to place AddThis social share into your ads details view, includes Facebook Like, Facebook share, Twitter, Google+, email, and more.
AddThisAds helps your visitors promote or bookmark Ads with many popular sharing websites. AddThisAds let you set an AddThis Profile ID to be able to access to analytics reports from your AddThis account, you can choose also the position of the social buttons inside the details view
Installation:
Once you complete the purchase process you will be able to download the compressed file named “addthisads_v2.0.0_UNZIPME” (the version may change) the archive contain two extensions :
- plg_addthisads_v2.0.0.zip : Joomla plugin that integrates AddThis social share buttons in the details view
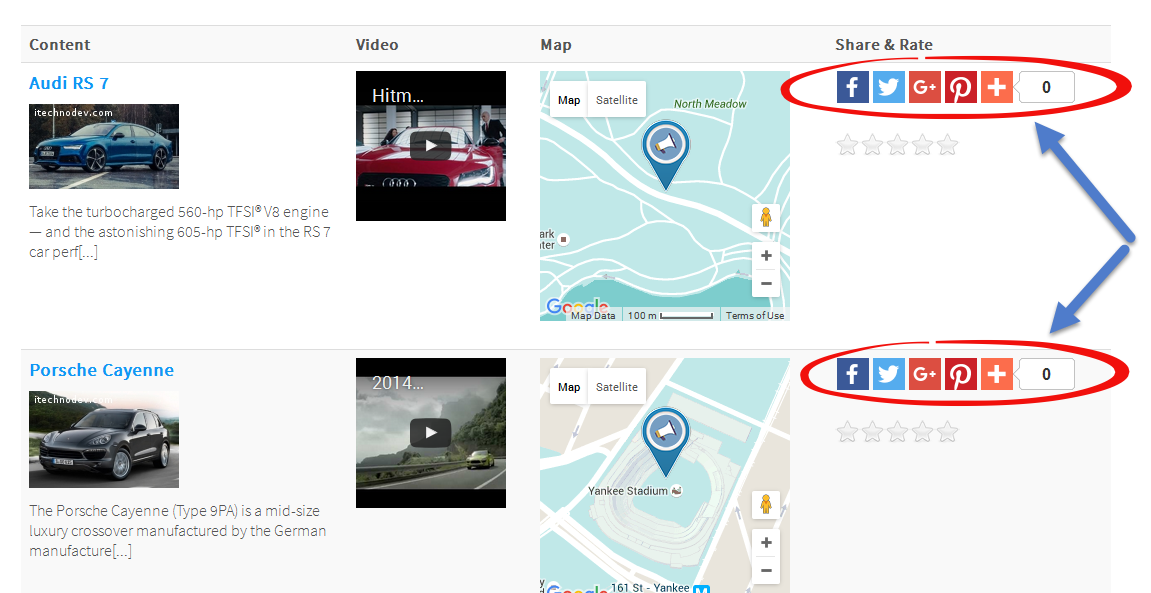
- addthisads.zip : AdsManager field plugin that integrates AddThis social share buttons in the list view (and in the details view if you want)
Joomla Plugin: plg_addthisads_v2.0.0.zip
Installation:
- The first step is to login to your website administration
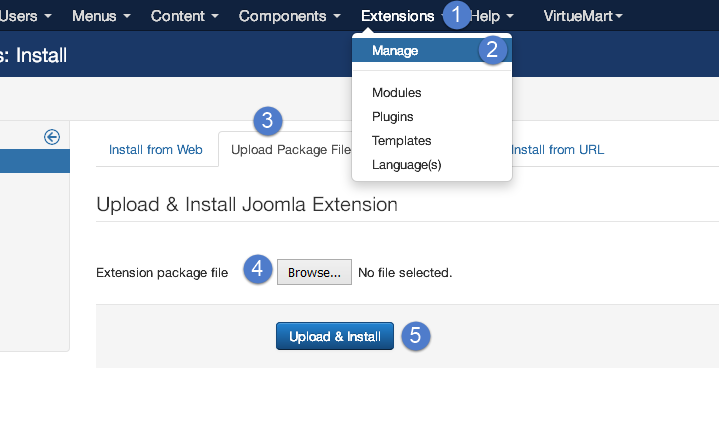
- And then from the top menu go to “Extensions” and choose “Manage”
- Select the tab "Upload Package File"
- Click on “choose file” and browse the AddThisAds plugin file : plg_addthisads_v2.0.0.zip
- Once the file is selected click on “Upload & Install”
Configuration:
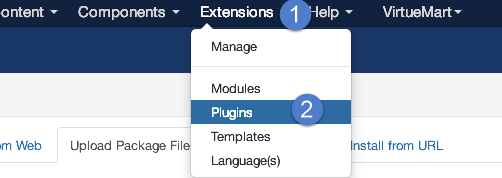
- From the administration area of your Joomla website go to “Extensions” and then “Plug-in Manager”
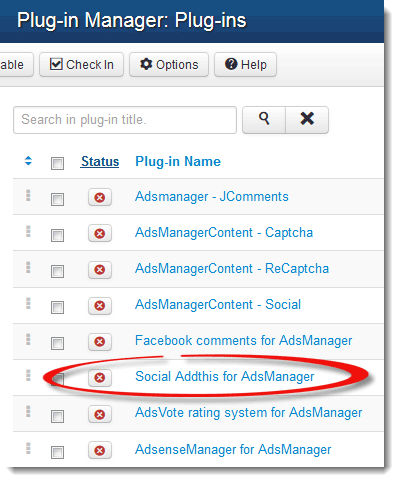
- search and click on the plugin named “Social AddThis for AdsManager”
- You have to enable the plugin and you can configure the plugin to adapt it to your needs
- You can choose to display the social buttons before or after the ads in the details view or you can display it in both positions
- You can choose one of buttons styles
- If you can to show a custom buttons you can enable this option
- If the custom button option is enabled you have to enter the code in that text area
- To be able to access to analytics reports across multiple domains, you can enter your AddThis Profile ID

AdsManager Plugin: addthisads.zip
Installation:
You must install this plugin by the AdsManager Plugin Installer
- The first step is to login to your website administration
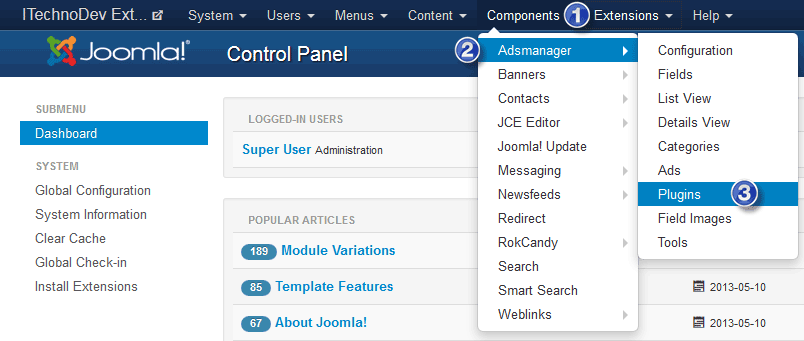
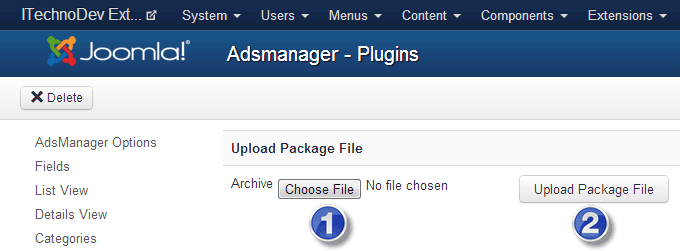
- And then from the top menu go to “Components” and choose “Adsmanager” then “Plugins”
- Click on “choose file” and browse the addthisads.zip plugin file
- Once the file is selected click on “Upload Package File”
Configuration:
Now to display AddThis buttons you should:
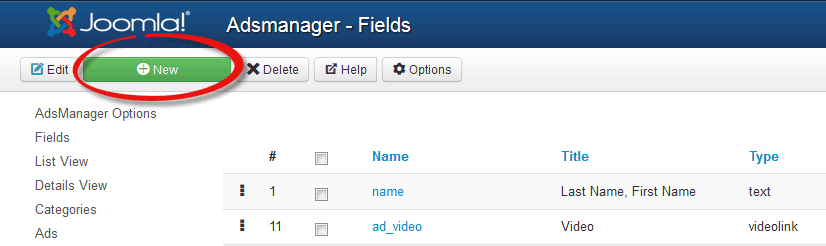
- From the top menu go to “Components” and choose “Adsmanager” then “Fields”
- From the top bar click on “New” button
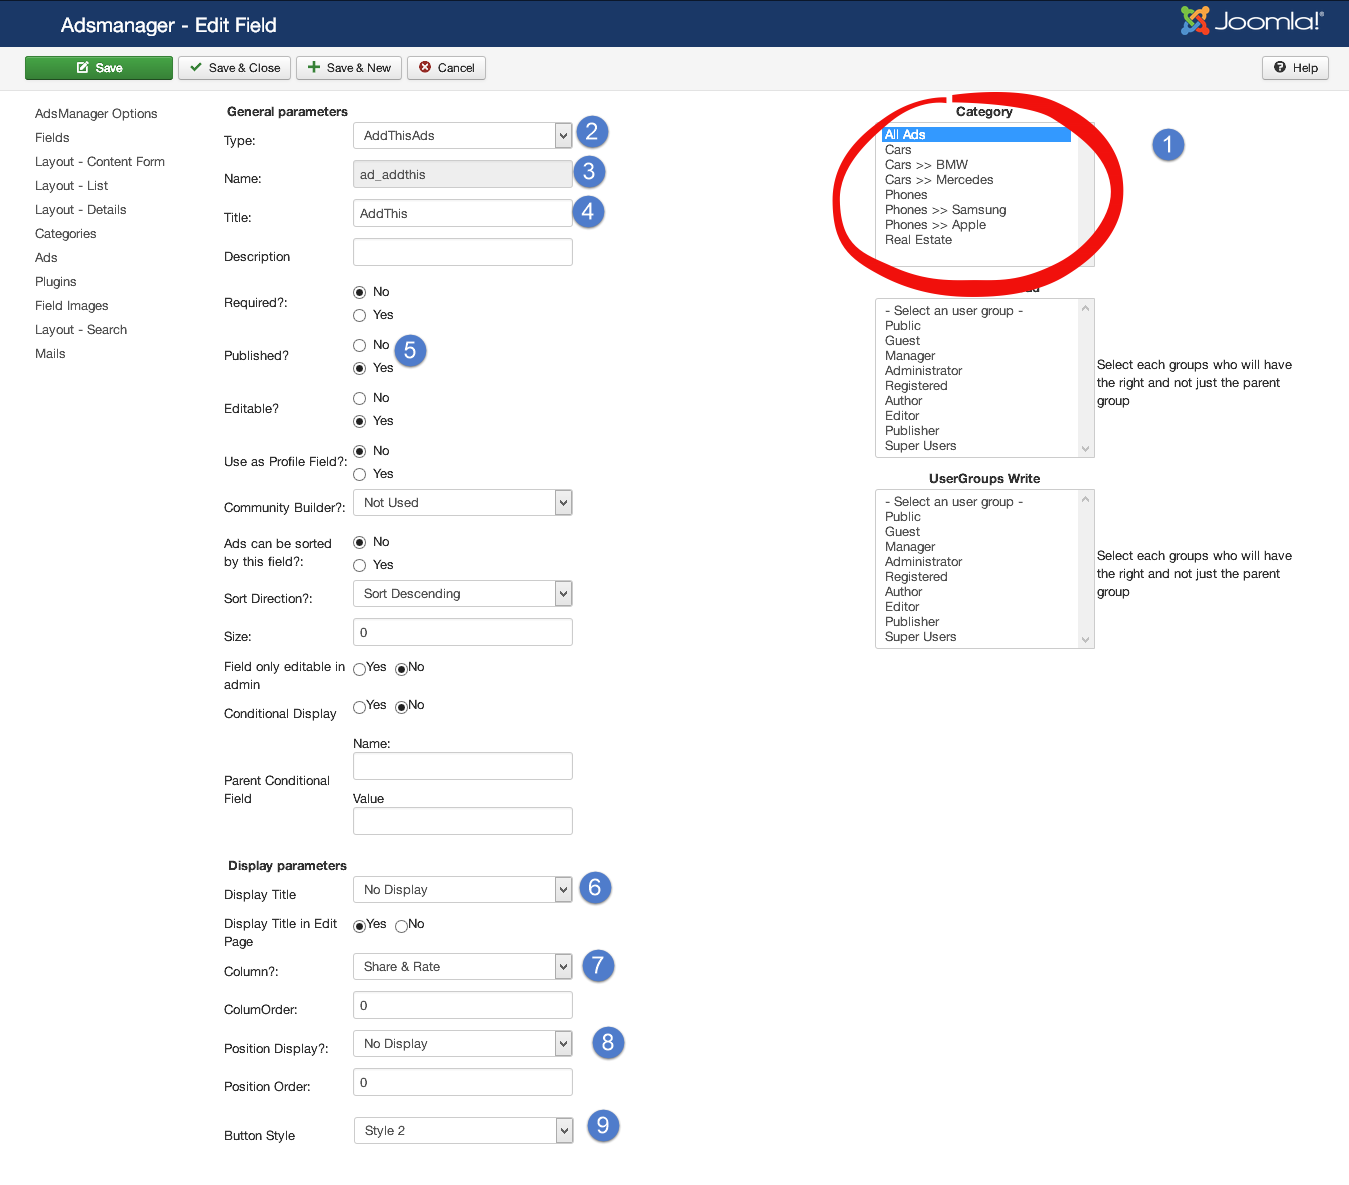
- Now you should configure the field to adapt it to your needs

- Category: choose in which category you want to allow rating
- Type: choose AddThisAds as a type of the field
- Name: enter a name for the field
- Title: enter a title for the field
- Published: make sure you publish the field
- Display Title: think that you don’t want to show the title
- Column? : if you want to display AddThis Buttons in the list view you choose in which column it will be displayed, you can create a column in AdsManager options
- Position Display: if you want to display AddThis Buttons in the details view you have to choose a position
- Button Style: Choose the buttons style
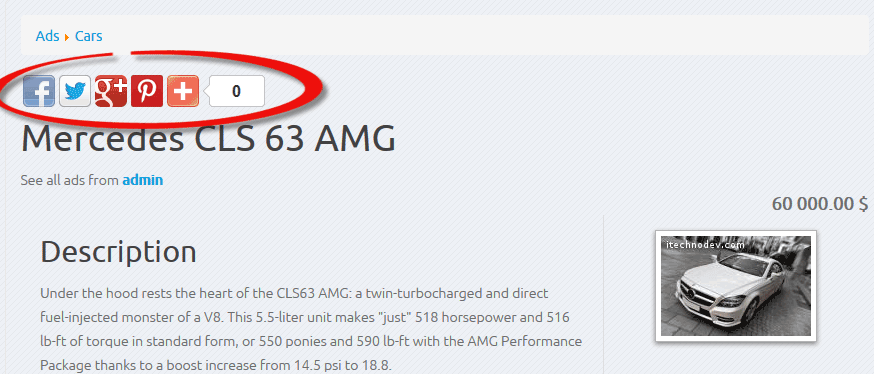
Result
Copyright © 2016. All Rights Reserved. Designed by ITechnoDev, LLC